That teak sideboard with the water rings, faded top, and tired finish does not necessarily need a dramatic makeover. If you are wondering how to refinish mid century modern furniture as a beginner, the first thing to understand is that most good results come from restraint, not aggression. These pieces were designed with beautiful timber, elegant proportions, and finely judged finishes. Your job is to reveal that character, not sand it into something generic.
Mid-century modern furniture often looks straightforward, but it can be deceptively delicate. Many pieces are made with veneer rather than thick solid wood, and that veneer may be very thin. Drawer fronts, table tops, and cabinet doors can all look sturdy while giving you very little margin for error. For a beginner, that is the central lesson – the best refinishing work preserves as much original material and design integrity as possible.
Before you refinish, identify what you actually have
Not every mid-century piece should be refinished in the same way. Some can be revived with nothing more than a careful cleaning and a fresh coat of wax or oil. Others have failed finishes, deep staining, or heat damage that justify more involved work. Start by asking three practical questions.
First, is it solid wood, veneer, or a mix of both? Mid-century furniture commonly combines solid edges and legs with veneered panels. Second, what is the current finish? Many pieces were originally lacquered, while others may have had oil finishes or later amateur coatings. Third, is the value tied to originality? A well-made but ordinary cabinet gives you more freedom than a collectible maker piece where original finish matters.
This is where patience pays. Turn the piece over, inspect the back, and look inside drawers and cabinets. Veneer patterns often reveal themselves at edges and corners. If the grain on the top looks too perfect or repeats, it is likely veneer. That is not a flaw. It is part of how much mid-century furniture was made, and often made beautifully.
How to refinish mid century modern furniture without damaging veneer
The biggest beginner mistake is over-sanding. It is easy to assume that old finish must be stripped away with force, but veneer does not forgive that approach. If you sand through it, repair becomes far more complex than the original problem.
Begin with cleaning. Use a soft cloth, mild soap, and a small amount of water, never soaking the wood. Years of polish residue, kitchen grease, and dust can make a finish look worse than it really is. Once the surface is clean and dry, you can judge whether the damage is in the finish or in the wood itself.
If the finish is only dull and lightly scratched, try the least invasive route first. A gentle buff with very fine synthetic pads and a compatible restorative finish may be enough. If the existing finish is flaking, badly watermarked, or sticky from previous products, more work may be needed.
Chemical stripper can be useful on flat areas, especially when you want to preserve veneer thickness. But it depends on the piece and the finish. Some strippers are harsh, messy, and unpleasant to use, and not every beginner is comfortable with them. Sanding is simpler in theory, but it should be light and controlled. Think of sanding as refining the surface, not grinding it down.
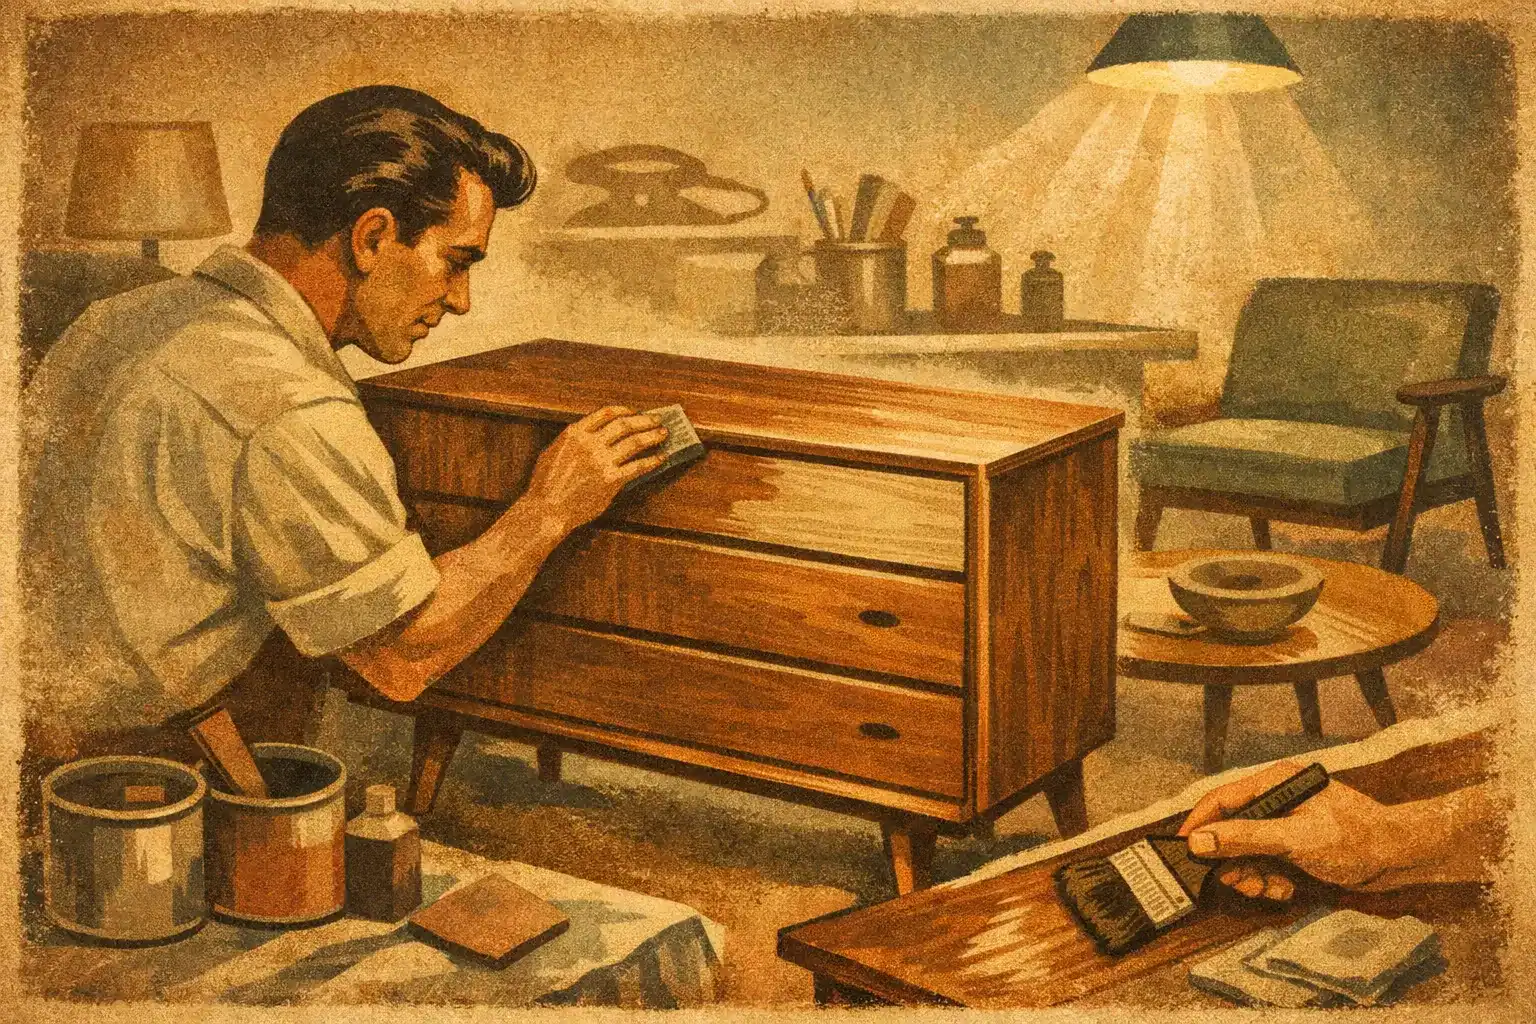
Use fine grits and a sanding block on flat areas. Avoid pressing hard at edges, where veneer is easiest to burn through. Curves, corners, and legs usually need hand work rather than power tools. A random orbital sander can help on some broad surfaces, but for a beginner it is just as often the tool that causes the regret.
The best beginner approach is often partial refinishing
One of the more useful truths in restoration is that everything does not have to match perfectly to look right. A table top may need refinishing while the legs only need cleaning and wax. A cabinet front may deserve careful attention while the interior is best left alone. Mid-century furniture has presence because of proportion and material quality, not because every square inch looks factory fresh.
Partial refinishing also keeps more of the piece’s history intact. Small signs of age are not defects in the world of vintage interiors. They are often part of the appeal. A softly worn edge or a mellowed tone can sit beautifully in a room. The goal is not to erase age. It is to make the piece attractive, stable, and usable again.
Choosing a finish that suits the era
This is where many refinished pieces lose their character. The wrong finish can make a refined 1950s or 1960s form look heavy, glossy, or overly orange. Mid-century furniture tends to look best with finishes that respect the clarity of the grain and the clean lines of the design.
For many beginners, hard wax oil is an approachable option. It is more forgiving than spray lacquer, easier to apply in a home workshop, and generally gives a natural, low-sheen look that suits teak, walnut, and similar woods. Danish oil can also work, though it depends on the timber and the original appearance you want to echo. Lacquer is closer to many original factory finishes, but it is less beginner-friendly and usually requires better ventilation, more equipment, and more confidence.
Test your chosen finish in a hidden area first. Wood changes dramatically once finish is applied. A pale, sanded surface may become rich and warm, or unexpectedly yellow. That is especially true if the piece has mixed woods or repaired sections.
Color matching matters more than beginners expect
If you have sanded through old sun fading or removed darkened finish from only part of a piece, color variation may become more obvious. Mid-century furniture often relied on warm, even tones, and patchiness can spoil the effect.
That does not mean you should reach immediately for a dark stain. Heavy stain can flatten the grain and create a muddy appearance, especially on veneer. A lighter touch is usually better. Sometimes the right finish alone restores enough depth. Sometimes a tinted oil or subtle wood dye helps unify the surface. It depends on the species, the damage, and the look of the original piece.
If you are working on teak, be careful not to over-darken it. Teak has a distinct warmth and texture that can become dull under the wrong product. Walnut generally offers more tolerance, but even there, too much stain can make a sophisticated cabinet look mass-produced.
Common mistakes beginners make
The classic errors are all avoidable. The first is stripping away too much, too fast. The second is replacing a refined original look with a thick, shiny modern coating. The third is ignoring structure while focusing only on surface.
Check the joins, drawer runners, handles, and legs before you begin. A beautiful finish will not rescue a wobbly table or sticking drawers. Mid-century furniture was often elegantly engineered, and small adjustments can make a piece feel right again.
Another mistake is expecting perfection from old wood. Vintage furniture carries time differently than new furniture. Tiny repairs, slight tonal shifts, and minor signs of use are acceptable. In fact, they often help the piece feel authentic in a room. Over-restoration can strip away the very qualities that made the piece worth saving.
A simple refinishing process for a first project
If you want a practical answer to how to refinish mid century modern furniture as a beginner, choose a forgiving first project. A small side table is better than a large credenza. Start with something flat, stable, and not especially rare.
Clean the piece thoroughly and let it dry. Assess the finish in daylight. Remove hardware carefully and label anything that needs to go back in the same place. Lightly strip or sand only as much as needed to create an even surface. Repair any loose veneer before finishing, not after. Wipe away dust completely. Apply your finish in thin coats, following the grain, and allow proper drying time between coats.
Then stop before you overwork it. This is harder than it sounds. Beginners often keep adjusting and recoating in search of a flawless result, when the piece already looks good. Mid-century design rewards a lighter hand.
At MN Interior Antiques, we see again and again that the most successful restored pieces are the ones treated with respect for their materials and era. That is as true for a modest bedside table as it is for a more collectible cabinet.
When not to do it yourself
Some furniture should be left to a professional restorer. If the piece is by a notable maker, has severe veneer loss, contains specialty finishes, or holds significant value, amateur refinishing can reduce both beauty and worth. The same applies if there is structural damage beyond simple tightening or regluing.
There is no shame in knowing where your skills begin and end. Buying vintage furniture with a story to tell is one thing. Preserving that story properly is another. Sometimes the wisest beginner move is to practice on a less important piece and leave the special one alone until you are ready.
A well-refinished mid-century piece should still look like itself when you are done – just cleaner, richer, and more alive. If you keep that in mind, you will make better decisions at every step.